
I am writing this post while in the middle of the COVID-19 pandemic and I am working from home as many other people. This gave me the opportunity and the time to bake bread more often. Some of my friends had the same thought, so I gave them part of my mature starter. Since then I have gotten several questions on how they are supposed to maintain their starters. Since people seem to be interested in making and maintaining their own sourdough starter, I’m writing this post as a guide.
This was the first recipe that I followed when I made my first sourdough starter. The recipe is perfect for you to start your journey in the sourdough world as it is simple and easy to follow. It will also give you a better understanding of how the starter behaves and how to adjust the proportion of flour and water for better results. If you want a more stable starter but with a bit more complicated steps I recommend reading the Advanced sourdough starter.
 Day 2 - Wheat - Some bubbles started to form
As with any sourdough starter, the only two ingredients you will need are water and flour. Besides that, you will need a food-safe container with a lid, a scale and preferably a rubber spatula for mixing.
The water should not be straight from the tap if it contains a high level of chlorine. If you need to use tap water it is better to use a filter. Otherwise, pour some water in a container and leave it loosely covered overnight before using it or put it in the fridge for 3-4 hours.
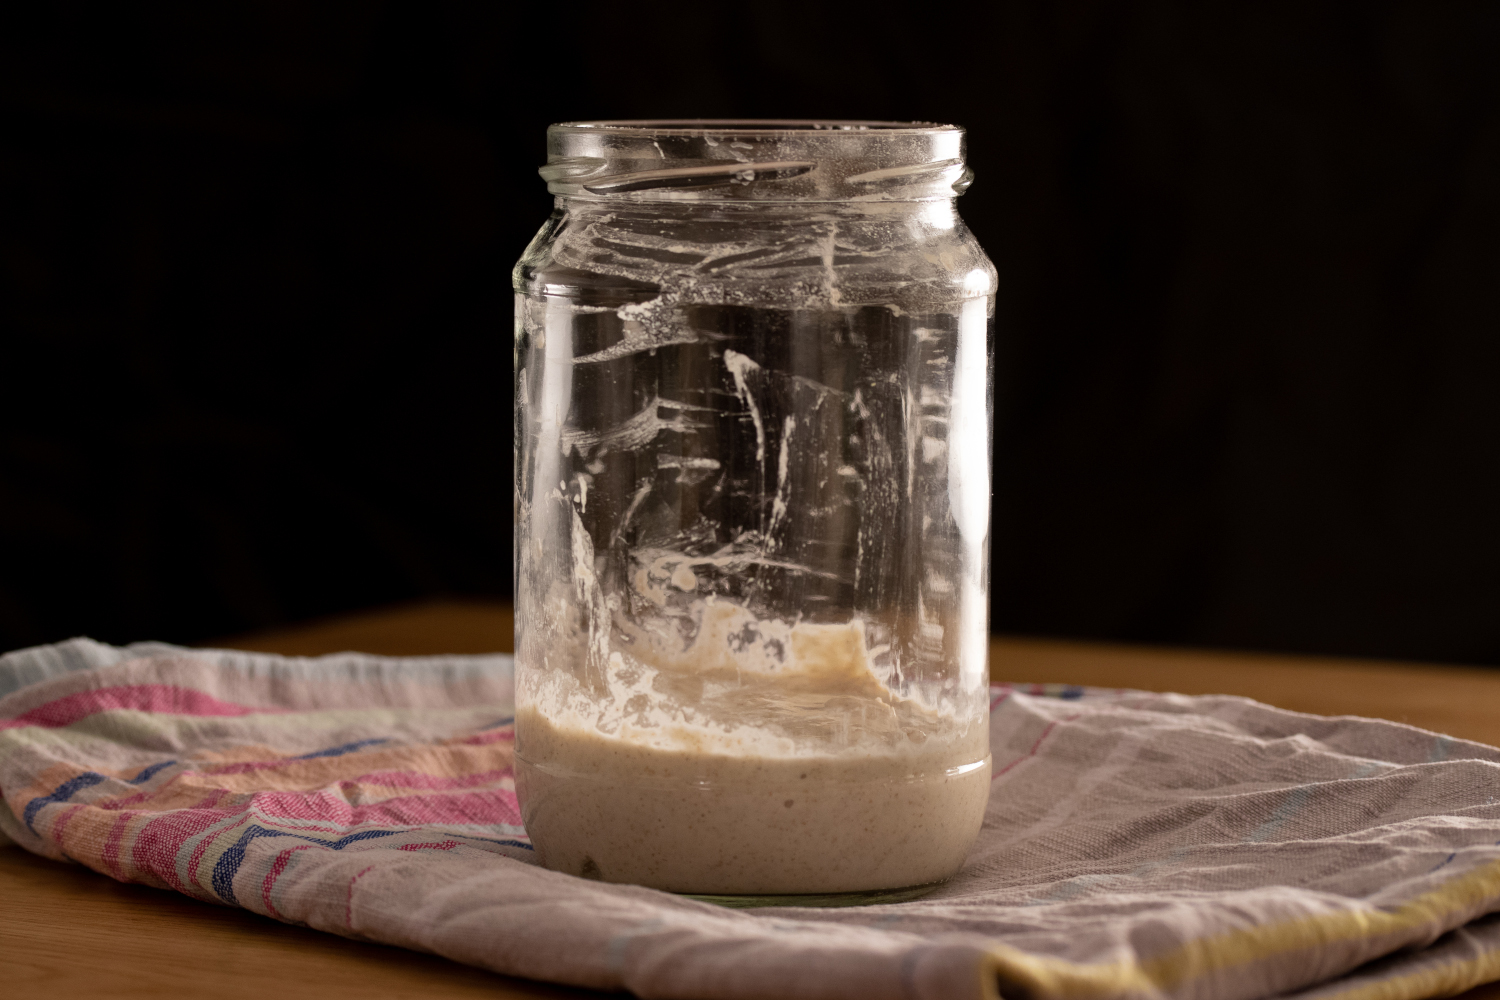
 Day 4 - Rye- There are a lot of bubbles in the starter
Regarding the flour, the recipe works equally well both with wheat and rye flour. The less processed the flour, the better the result. Therefore, it is better to use whole grain, unbleached,organic flour as it contains more nutrients, which will help the starter to develop faster.
In order to create a sourdough starter, you mix a bit of water and flour and let it ferment for 24 hours. Then you use a bit of the starter you already have and refresh it with more flour and water. This process is called feeding the starter and it is how you maintain it. The more you feed your starter the more mature it will become. As it matures it will be more resilient, more forgiving, more predictable and it will develop a deeper aroma. If you feed your starter regularly and take care of it, it can be passed down to generations and last forever.
Before you start the process it is important to weigh the empty container and write down its weight. This will help you calculate the amount of starter to throw away every day and how much water and flour to add.
 You should weigh your container before you start
For more details and tips about the sourdough starter, you can read the Sourdough starter in-depth post. And for a more advanced starter recipe read the Advanced sourdough starter.
Recipe
Ingredients
- Wholewheat Flour
- All-purpose Flour
- Water
Execution
- Day 1
- To begin the process, add 25 gr of water and 25 gr of wholewheat flour in a container and mix well to combine. It should resemble a thick sticky dough. Scrape down the sides of your container with a spatula, and loosely cover with a lid so that air can come out but bugs cannot come in. As the starter ferments, it produces carbon dioxide and if you close the lid tightly you might create a small bomb. Put the container with the starter in a warm and dark place such as a cupboard and let it ferment for 24 hours.
- Day 2
- At this point you should be able to see a few small bubbles. Mix well your starter and feed it with 50 gr of wholewheat flour and 50 gr of water. Mix well, scrape down the sides, cover loosely and store it again for 24 hours.
- Day 3-7
- Mix well your starter, and discard all but 50 gr of it. Feed it with 50 gr of wholewheat flour and 50 gr of water. Mix well, scrape down the sides, cover loosely and store it again for 24 hours.
During this time you will see more and more bubbles forming. The starter will begin a rise and fall cycle during which it will double its size and fall back to its initial volume. Also, the smell will change from floury and yeasty, to a more sour and wine one and finally to a warm, fruity, and nutty aroma.
Depending on the flour, you might need to make small adjustments to the amount of flour and water you use. I found out that for wholewheat flour if your starter is too liquidy you should add 5-10 gr more flour. If you are using rye flour, then probably your starter will be a bit too thick and hard to mix. In this case, you can add 5-10 gr more water until it becomes easier to mix. You should build an intuition for those adjustments, but don’t be afraid, the starter is quite forgiving, meaning that even if you are not extremely accurate with your measurements, the starter will still develop and mature.
It is quite possible during this process that your starter will develop a small layer of clear-ish liquid on the top. This is alcohol that is produced as a by-product of the fermentation process and it is called hooch. This is a good sign that your starter might be a bit hungry and you will need to add 5-10 more grams of flour until the starter is not too liquid.
If during these days your starter starts to smell quite bad, rotten, and like sweaty feet, you should consider creating a new one from the beginning. - Day 7 and on
-
By now your starter should be mature enough. It should have a steady rise and fall cycle, and it should not smell too sour. If this is the case congratulations since you have created a sourdough starter. If not, repeat the previous steps for one or two more days until you reach this point.
At this point, you should consider naming your starter. I have named my rye starter Rye-man and my wheat one Yeasty-boy. This helps to build a bond with your starter and not forget to feed it.
In order to maintain it from now on, you should repeat the same process, as the previous days, but instead, use a mix of 50% wholewheat and 50% of all-purpose flour. Alternatively, you can read the Sourdough starter in-depth post for more ways to preserve your starter.
Feeding schedule and proportions for your starter
| Day | Old starter | Flour | Water | Total weight* |
|---|---|---|---|---|
| 1 | 0 | 25 gr Wholewheat | 25 gr | 50 gr |
| 2-6 | 50 gr | 50 gr Wholewheat | 50 gr | 150 gr |
| 7 and on | 50 gr | 25 gr Wholewheat & 25 gr All Purpose | 50 gr | 150 gr |
I hope you enjoy this recipe and I’m excited to see photos of your own starters and leave me a comment with the creative name of your starter.
Keep on jamming and enjoy baking.