
This is a post for an advanced starter guide. If you are a beginner to the sourdough world, I suggest reading the Simple sourdough starter and the Sourdough starter in-depth posts before trying this out, as they will give you more information about how to create a new starter and answers to some of the questions you might have when you start making your own sourdough starter.
The more I was using a sourdough starter and the more I was reading about different recipes, the more I started to realize the importance of different flours and how they can affect the starter. I stumbled upon several recipes that were using a mix of Rye and All-purpose flour in order to feed the starter. Also they are using different hydration percentages when creating a new starter. Starting from a high hydration mix, which helps the starter to ferment faster in early stages, all the way down to 100% hydration, which gives a more controlled fermentation for the mature starter.
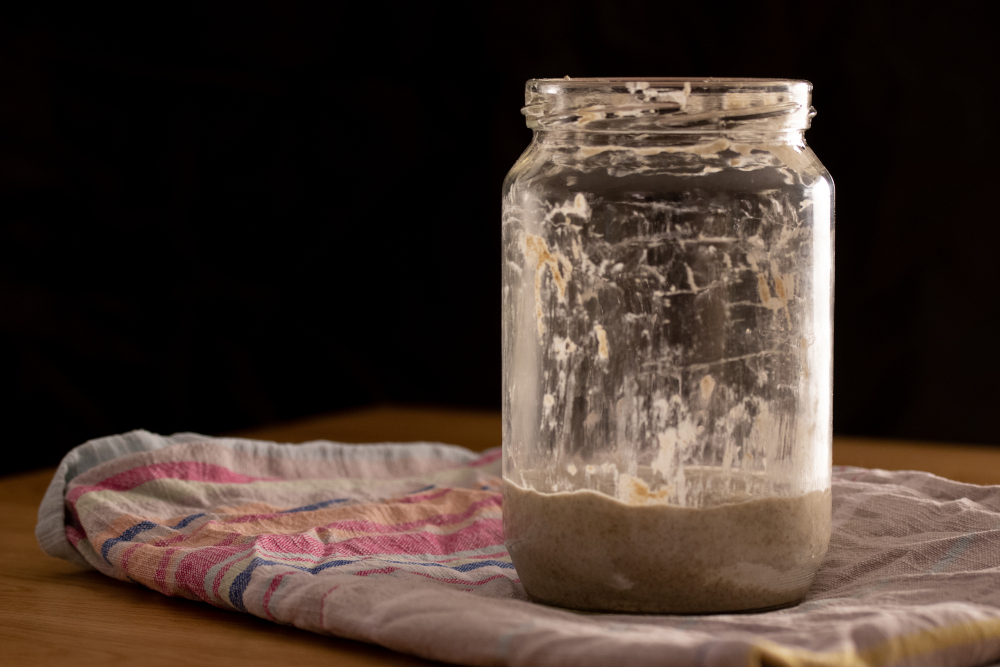
 Day 1 - Mixed flour and water
Most of the recipes that I found required quite a lot of flour and water to create and feed the starter. So starting from the Simple sourdough starter I tried to create a recipe that works with a mix of Rye and All-purpose flour while reducing the waste of the discarded old starter. There is quite a bit of overlap between the two posts as the process of feeding the starter is the same. The main differences are the amount of flour and water used every day and the mix of flours. Also, this recipe has a bit more complicated schedule than the Simple starter one.
I made a new starter and the process was super smooth. The result was great and I ended up using it as my main starter. There wasn’t any hooch on top of the starter which means that the proportions worked perfectly and I managed to reduce the discarded starter to about 100 gr per day.
I didn’t try to reduce the amount of water and flour too much while making the new starter as it requires more nutrients in the early stage. Also I believe that it is possible to reduce even more the amount of discarded starter after your starter is mature enough, but I haven’t tried that either. Those two points might be a good idea for a new post.
Since I’m using a mix of Rye and All-purpose flour to feed the starter, it can work equally well for both Rye and Wheat breads. Also, you can adjust the type of flour when making a levain for the bread and match it to the type of bread you are about to bake.
 Day 3 (Left) | Day 4 (Right) - There is a lot of bubble action
As mentioned in the simple sourdough starter post, it is important to weigh the empty container and write down its weight. This can help you calculate the amount of starter to discard and how much water and flour to add.
Recipe
Ingredients
- Whole Grain Rye Flour
- All-purpose Flour
- Water
Execution
- Day 1
- To begin the process, add 75 gr of water and 50 gr of rye flour in a container and mix well to combine. It should resemble a thick sticky dough. Scrape down the sides of your container with a spatula, and loosely cover with a lid so that air can come out but bugs cannot come in. As the starter ferments, it produces carbon dioxide and if you close the lid tightly you might create a small bomb. Put the container with the starter in a warm and dark place such as a cupboard and let it ferment for 24 hours.
During this time you will see more and more bubbles forming. It will start having a rise and fall cycle where it doubles its size and falls back to its initial volume. Also, the smell will change from floury and yeasty, to a more sour and wine smell and finally to a warm, fruity, and nutty.
You should consider naming it at this point. I have named mine Fluffy. This helps to build a bond with your starter and not forget to feed it.
In order to maintain it from now on, you should repeat the same process, as the previous days, but instead, discard all but 25 gr the old starter. Feed it with 25 gr of Rye flour, 25 gr of All-purpose flour and 50 gr of water. Mix well, scrape down the sides, cover loosely and store it again for 24 hours.
Feeding schedule and proportions for your starter
| Day | Old starter | Flour | Water | Total weight* |
|---|---|---|---|---|
| 1 | 0 | 50 gr Rye | 75 gr | 125 gr |
| 2-3 | 50 gr | 25 gr Rye + 25 gr All-purpose | 60 gr | 160 gr |
| 4-6 | 50 gr | 25 gr Rye + 25 gr All-purpose | 50 gr | 150 gr |
| 7 and on | 25 gr | 25 gr Rye + 25 gr All-purpose | 50 gr | 125 gr |
I hope you enjoy this recipe and I’m excited to see photos of your own starters and leave me a comment with the creative name of your starter.
Keep on jamming and enjoy baking.